


Tutorial on how to install and use Ceph distributed software under Linux

PrefaceWhat kind of storage is better for k8s cluster? I have researched the distributed storage ceph and would like to share it with you here. 1. Basic Environment1. Service distribution Node1: admin, osd, mon 2. Network configuration (all nodes)Modify the host name. Remember that the host name cannot have underscores. Modify the host name (/etc/hostname): hostnamectl set-hostname node1 hostnamectl set-hostname node2 Modify /etc/hosts Add vim /etc/hosts 192.168.84.131 node1 192.168.84.132 node2 3. SSH password-free access (all nodes)ssh-keygen ssh-copy-id -i id_rsa.pub [email protected] 2. Installation1. Format the newly mounted hard disk as the storage for osd (this must be done for all osd nodes)mkfs.xfs /dev/sdb blkid /dev/sdb mkdir -p /data/osd vim /etc/fstab UUID="57493ebb-6744-4355-a7f6-ec7538b4b65e" /data/osd xfs defaults 0 0 mount -a 2. Install the ceph-deploy management tool on the management node node1(1) Configure the yum source vim /etc/yum.repos.d/ceph.repo [ceph] name=ceph baseurl=http://mirrors.aliyun.com/ceph/rpm-jewel/el7/x86_64/ gpgcheck=0 priority=1 [ceph-noarch] name=cephnoarch baseurl=http://mirrors.aliyun.com/ceph/rpm-jewel/el7/noarch/ gpgcheck=0 priority=1 [ceph-source] name=Ceph source packages baseurl=http://mirrors.aliyun.com/ceph/rpm-jewel/el7/SRPMS gpgcheck=0 priority=1 #Clear yum cache, reload yum clean all yum makecache (2) Install the ceph-deploy management tool yum -y install ceph-deploy (3) Create a Monitor service mkdir /data/ceph cd /data/ceph/ ceph-deploy new node1
ceph.conf ceph configuration file ceph-deploy-ceph.log ceph log ceph.mon.keyring ceph monitor key ring file #If you want to change the number of daemons, that is, the number of copies, you can add the following line to the ceph.conf configuration file osd_pool_default_size = 1 ##Number of copies 3. Install ceph on all hostsceph-deploy install node1 node2 #The above command is to download and install from the official server. It is quite slow and is generally not used this way. Previously, the management node node1 was configured with the Alibaba Cloud source of Ceph, which can be directly installed using yum. However, the host node2 needs to configure the yum source first and then install it. yum -y install epel-release yum -y install ceph-release yum -y install ceph ceph-radosgw 4. Install Monitor on the management nodecd /data/ceph/ ceph-deploy mon create node1 ceph-deploy gatherkeys node1
5. Create osd#The osd directory has been created and mounted before, so here we only need to create the osd node. ceph-deploy osd prepare node1:/data/osd node2:/data/osd You can see on different hosts that the corresponding nodes will generate files
6. Activate osd#Activate the osd of each node on the management node node1 ceph-deploy osd activate node1:/data/osd node2:/data/osd
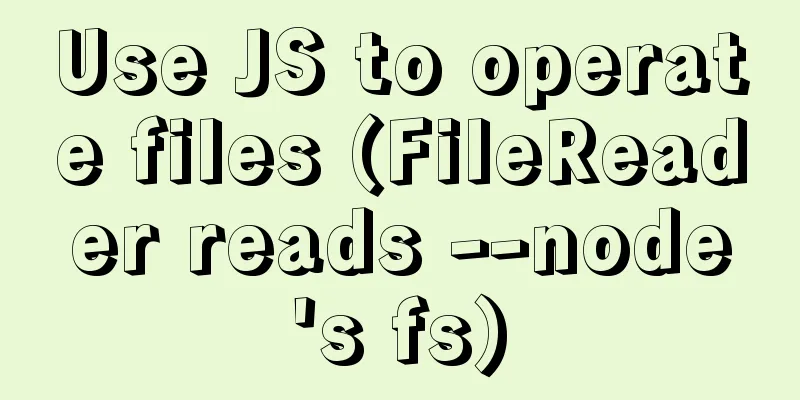
#The above picture clearly shows that the reason is insufficient permissions, directly authorize 777
chmod 777 -R /data/osd/

#Re-activate ceph-deploy osd activate node1:/data/osd node2:/data/osd
After activation is complete, you can use the command to view osd ceph-deploy osd list node1 #You can also view multiple nodes, separated by spaces
#Use the command to synchronize the configuration file and admin key to each node so that each node does not need to specify the Monitor address and ceph.client.admin.keyring key when using the ceph command. Note: You also need to modify the permissions of the ceph.client.admin.keyring key of each node ceph-deploy admin node1 node2
node1:
cd /data/ceph
chmod +r ceph.client.admin.keyring

node2:
cd /etc/ceph
chmod +r ceph.client.admin.keyring

Finally check the osd status:
ceph health
7. Deploy mdsceph-deploy mds create node2 ceph mds stat Check the cluster status: ceph -s Conclusion I forgot to take a screenshot of the cluster status at that time. Execute the ceph -s command. As long as you see the words "HEALTH_OK", the cluster is deployed successfully. This is the end of this article about the tutorial on the distributed installation and use of Ceph under Linux. For more relevant Linux Ceph installation content, please search for previous articles on 123WORDPRESS.COM or continue to browse the following related articles. I hope everyone will support 123WORDPRESS.COM in the future! You may also be interested in:
|
<<: SQL Practice Exercise: Online Mall Database Product Category Data Operation
>>: A brief analysis of adding listener events when value changes in html input


Recommend
How to modify the sources.list of Ubuntu 18.04 to Alibaba or Tsinghua mirror
1. Backup source list The default source of Ubunt...
Web Design Experience: Efficiently Writing Web Code
Originally, this seventh chapter should be a deep ...
New interactive experience of online advertising in website production (graphic tutorial)
As the Internet era becomes more mature, the deve...
Troubleshooting and solutions for MySQL auto-increment ID oversize problem
introduction Xiao A was writing code, and DBA Xia...
In-depth explanation of modes and environment variables in Vue CLI
Preface In the development of actual projects, we...
Summary of considerations for writing web front-end code
1. It is best to add a sentence like this before t...
Installation and use of Apache stress testing tools
1. Download Go to the Apache official website htt...
Solution to the problem that docker nginx cannot be accessed after running
## 1 I'm learning docker deployment recently,...
Implementation of CSS fixed layout on both sides and adaptive layout in the middle
Analyze four common methods and principles: float...
WeChat applet date and time component (year, month, day, hour, and minute)
This article example shares the specific code of ...
Example code for implementing an Upload component using Vue3
Table of contents General upload component develo...
Tutorial on building an FTP server in Ubuntu 16.04
Ubuntu 16.04 builds FTP server Install ftp Instal...
Introduction to scheduled tasks in Linux system
Table of contents 1. Customize plan tasks 2. Sync...
Detailed explanation of the use of MySQL Online DDL
Table of contents text LOCK parameter ALGORITHM p...
A very detailed tutorial on installing rocketmq under Docker Desktop
Install Docker Desktop Download address: Docker D...