


MySQL server 5.7.20 installation and configuration method graphic tutorial
|
This article records the installation and configuration methods of MySQL 5.7.20 and shares it with everyone 1. Download MySQL First, go to the database's official website http://www.mysql.com to download MySQL. The homepage after clicking in is as follows:
Then click downloads, community, and select MySQL Community Server. As shown below:
Scroll down, find Recommended Download, and click go to download page. As shown below:
Click download to enter the download page and select No thanks, just start my download to start downloading. Of course, if you want to register, you can also register.
2. Install MySQL Open the installation package you just downloaded and start installing MySQL.
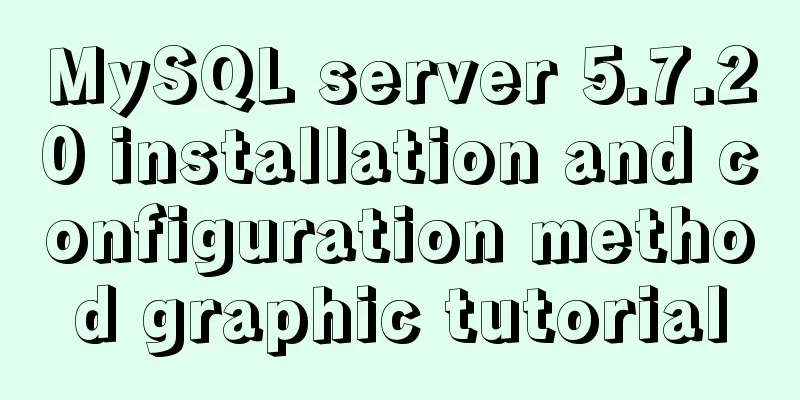
Select I accept and click Next to proceed to the next step.
Select Developer Default here, and then click Next to proceed to the next step.
This step is to check the installation conditions. Just click next to proceed to the next step.
Just click execute here, and click next to proceed to the next step after execution.
Continue to click next to proceed to the next step.
Select the first one and click Next to proceed to the next step.
Just click next here to proceed to the next step.
Set the root password and click Next.
Click Next to proceed to the next step.
Continue clicking next.
Click execute.
Click next.
Click finish.
Click next all the way and check your root password, MySQL is successfully installed on your computer. After the installation is complete, enter the MySQL installation directory and enter MySQL Sever. The files in the directory are as follows:
The bin directory stores commonly used MySQL command tools and management tools; the data directory is the default place for MySQL to store data files and log files (I just installed it and there is no data folder yet); the docs directory contains MySQL help documents; the include directory and lib directory contain header files and library files that MySQL depends on; the share directory stores directory files and log files. Enter the bin directory, hold down the shift key and right-click to choose to open a command window in the directory, or enter cmd in the address bar to enter the command window. Enter mysql -u root -p and press Enter. You will then be prompted to enter your password. After entering the password, you will enter the MySQL operation and management interface. Enter show databases; ( note the semicolon at the end) to view the current MySQL database list, enter use test; to enter the test database (the prerequisite is that this database exists), enter show tables to view all tables in the test database, and enter quit to exit the MySQL operation management interface.
3. MySQL Basic Usage Tutorial (Using MySQLworkbench) 1. Create a database You can use the Create Database button on the toolbar to create a database directly, as shown below:
Or use the command: create database database name; (note the semicolon at the end) to create it. Note that this method may not refresh immediately. You can right-click in the lower left corner and select Refresh all to refresh.
2. Create and delete tables You can right-click on the Tables where you want to create the table and select Create Table, or use the command create table table_name(column_name column_type);
Note that you need to use the use command before the command to create the data table to specify the database you want to use. (You can right-click on the database you are going to use and select Set as Default Schema to make the database you are going to use the default, so you don’t need to write a use statement) 3. Modify the name of the table Change the table name by using the command: alter table old_name rename to new_name or rename table old_name to new_name.
4. Add, modify, and delete fields for the data table Use the alter table table_name add column_name column_type; statement to add fields to the data table.
5. About changing the database name In earlier versions of MySQL, a command called rename was provided to change the name of the database (note that it is not the database table). However, this command will cause data loss, so this command has been deleted. Now if you want to rename a database, you need to export all the data in the original database first, then create a new database, then import the exported data into the new database, and finally delete the original database. The whole process is rather cumbersome and very time-consuming when the amount of data is large, so it is not recommended to change the name of the database. Therefore, when naming the database, you should consider giving the database a reasonable name. 6. Extension: Pycharm operates MySQL Open pycharm, follow the instructions on the picture, click the green "+" and select MySQL,
Then set the name and connect to the database as root. After the test connection is successful, click Apply.
The effect after connection is as shown in the figure below. After setting up, you can write MySQL commands in pycharm. Similarly, Java IDEA can also be set up.
The above is the full content of this article. I hope it will be helpful for everyone’s study. I also hope that everyone will support 123WORDPRESS.COM. You may also be interested in:
|
<<: Docker deploys mysql to achieve remote connection sample code
>>: Nodejs implements intranet penetration service


Recommend
Vue+SSM realizes the preview effect of picture upload
The current requirement is: there is a file uploa...
Detailed tutorial on running Tomcat in debug mode in IDEA Maven project
1. Add the following dependencies in pom.xml <...
Implement full screen and monitor exit full screen in Vue
Table of contents Preface: Implementation steps: ...
Ubuntu Basic Tutorial: apt-get Command
Preface The apt-get command is a package manageme...
WePY cloud development practice in Linux command query applet
Hello everyone, today I will share with you the W...
Navigation Design and Information Architecture
<br />Most of the time when we talk about na...
Solution to the failure of 6ull to load the Linux driver module
Table of contents 0x01 Failed to load the driver ...
Implementation of check constraints in MySQL 8.0
Hello everyone, I am Tony, a teacher who only tal...
js realizes the non-select drop-down box version of the three-level linkage of provinces, cities and districts
I searched for three-level linkage on the Interne...
Installation tutorial of mysql 5.7 under CentOS 7
1. Download and install the official MySQL Yum Re...
VMware Workstation 14 Pro installation Ubuntu 16.04 tutorial
This article records the specific method of insta...
Several ways to clear arrays in Vue (summary)
Table of contents 1. Introduction 2. Several ways...
Springboot integrates docker deployment to implement two ways to build Docker images
Docker is an open source engine that makes it eas...
About 3 common packages of rem adaptation
Preface I wrote an article about rem adaptation b...
Complete steps for deploying confluence with docker
Confluence is paid, but it can be cracked for use...